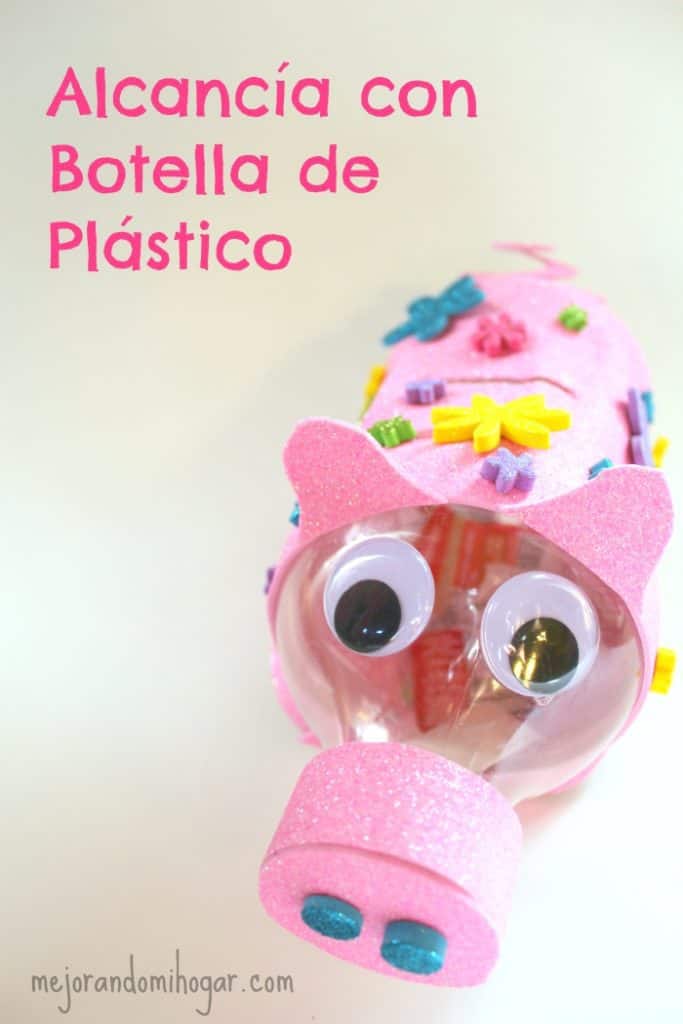
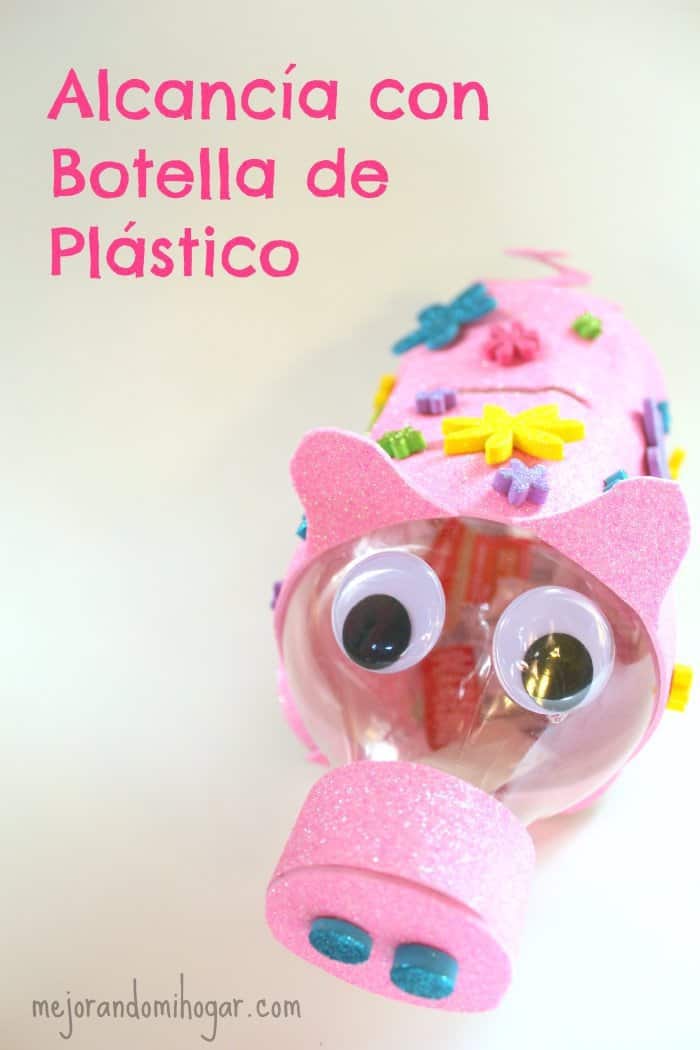
Encourage your kids to make an easy, cute piggy bank with a plastic bottle to store Labels For Education labels® that help their school.
This shop has been compensated by Collective Bias, Inc. and its advertiser. All opinions are mine alone. #1Millon4Edu #CollectiveBias
We arrived in the United States ten years ago, at that time my eldest son was going into the first year of elementary school, right now this is about to start in the eleventh year of High School as Junior.

I did all my studies until the University in Monterrey, Mexico; so many things have been new to me, from study methods to school aid programs; gradually I have been learning, I like to participate in the activities of my children’s school as a volunteer so that they feel the support and make them more want.
One of the things I’ve learned is that we can support our children’s schools, almost effortlessly, with programs like Campbell’s Labels for Education Program, it’s very easy and it’s a good way to make kids feel like they’re supporting their school and their commune Ad.
Most of the products I have found in Wal Mart, in the photo I show you some of the participating products.
Campbell’s Labels for Education Program works as follows:
Find the labels on the participating products on the back or on a side very close to the barcode. That label you cut it, put together as many as you can and send them to your children’s school.
We have time to put the labels of the participating products together, but we needed a place to store them, so I encouraged my daughter to make this lovely craft a label for Education, a very Latin-style piglet, I hope you like it.
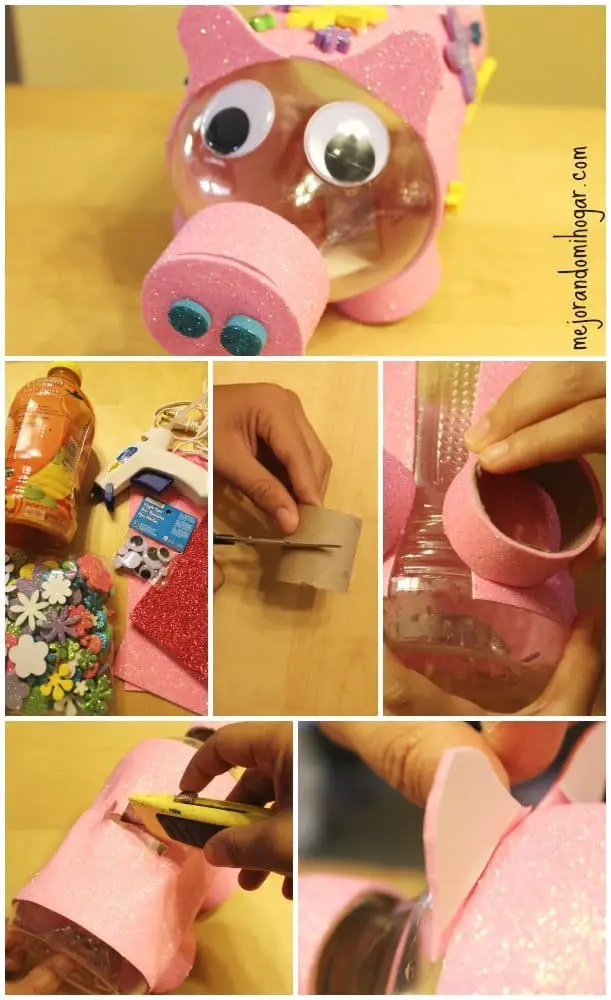
How to make a piggy bank with a Bottle
MATERIALS
1 V8 Splash ® Juice Plastic Bottle
2 Foam sheets or letter-sized cardboard of the color you prefer
Moving eyes
Foam or cardboard figures for garnish
1 roll or cardboard tube
Glue
Scissors

The foam sheets I got, already had adhesive but, you can use the regular ones and apply glue or hot glue.
Cut the cardboard tube (from toilet paper) into four parts and cover them with foami; these will be the legs.
Make an extra “leg” that will serve to cover the cap of the bottle and that will form the nose of the piglet.
After that, cut a foami rectangle about 15 cm wide to wrap the bottle and glue.
Then, cut a circle of foami (I used a can of campbell’s soup to get the measurement out) and trim it inside the circle to form the spiral. This will be the tail.
Finally, cut two rounded triangles to form the ears and glue them, as well as the eyes, tail and legs.
Decorate with foami or cardboard stickers and that’s it!

Leave a Reply